How to start teaching English (and other languages) on italki
iTalki is one of the most popular online language teaching & learning platforms – not just for English, but many other languages too.
With many online teaching platforms, students will register and pre-pay for a set of lessons. The platform will then assign a teacher for them. The teacher will do a demonstration class, and if the student likes the teacher, they’ll continue to have lessons with them. While this approach is quite popular, it can be quite restrictive as students only get a narrow view of the possible teachers that they could purchase lessons from and they also receive limited information about their potential teachers (skills, interests, experience, etc.).
This is where iTalki is quite different. Italki is a global language learning community that connects students and teachers for online language lessons. It’s essentially a platform where language learners can interact with each other as well as find a teacher that best suits their learning style, personality, and schedule.
It’s an excellent platform for teachers as you get more opportunities to show why you should be selected, you have more opportunities to choose your own schedule, you can give as many classes as you want (no monthly minimum/maximum), you can set your own prices, and if you speak other languages you could also teach those too – over 100 languages can be taught on iTalki!
What you’ll need before applying:
While Italki doesn’t set specific requirements for teachers, there are some things that you should prepare beforehand.
Here’s what you should have before applying:
- An accredited 120-hour TESOL/TEFL certificate
- A stable internet connection
- A webcam and microphone
- A suitable place to teach from
While students might have a preference for native English speakers, it can be possible to teach through Italki as a non-native English speaker if you’re able to demonstrate that you’re fluent in English, have a relatively neutral accent, and that you have great online teaching skills.
Complete italki registration guide:
Here’s a step-by-step guide showing how to register as a teacher on italki.

STEP 1: Registration.
The first thing you need to do is to create your account: iTalki teacher registration.
We’d suggest using your email address to register with. While there are options to register with social media accounts, email would be a more reliable way to manage your account.
.
Make sure to carefully enter your email address and a password that you can remember.
STEP 2: Choose your language & teacher type.
Before applying to become a teacher with iTalki, make sure to check if the language you’re applying for is open. iTalki has a list of open languages that they update every week, so if your language is closed at the time when you’re applying, don’t get discouraged! Just keep on checking the list to see when it opens!
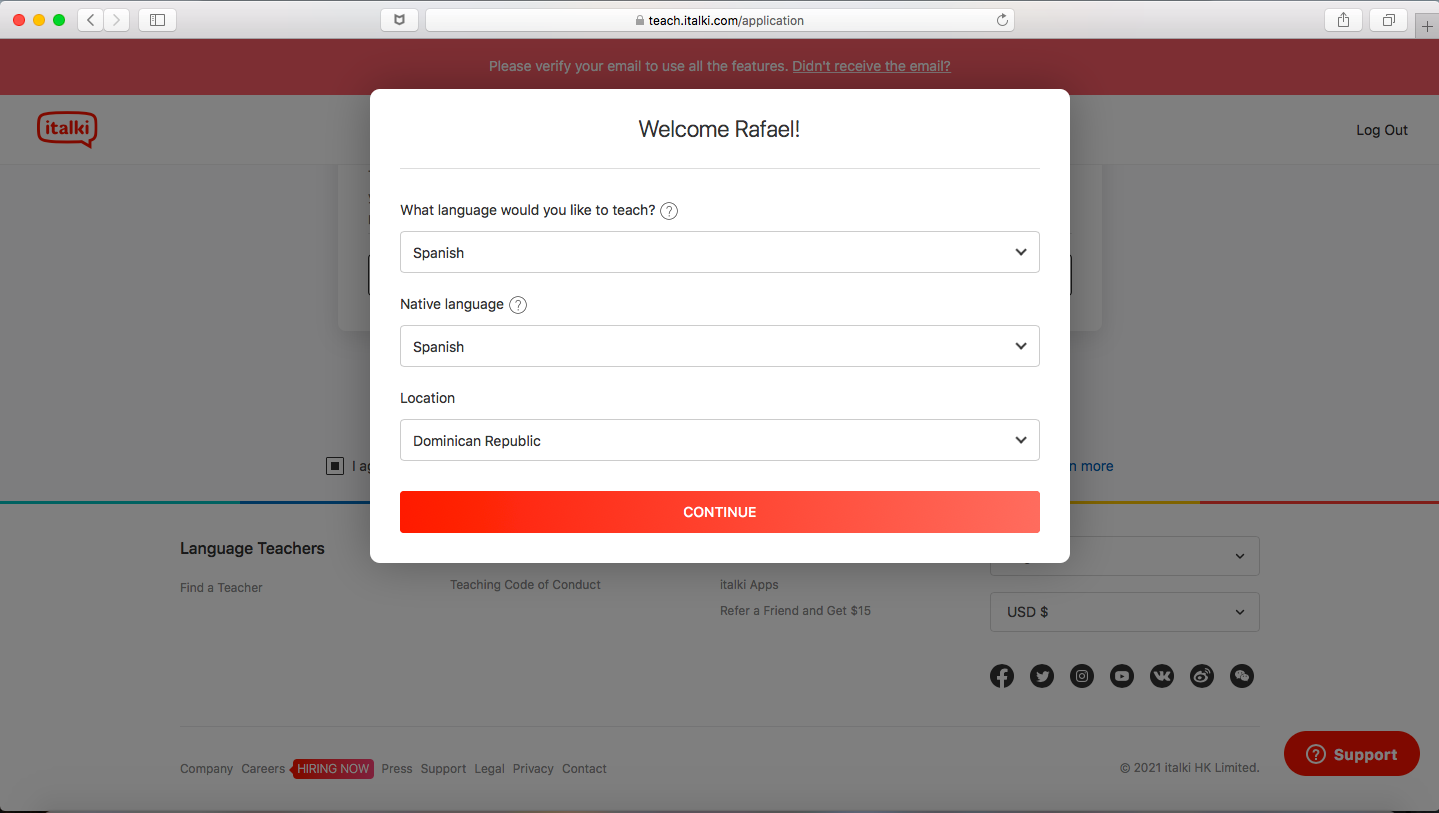
Once you start your application, you will be asked to choose the language you want to teach as well as your native language and the country you’re from.
The next step is to decide what type of teacher you’re applying to be. On iTalki, you can become either a Professional Teacher or a Community Tutor.
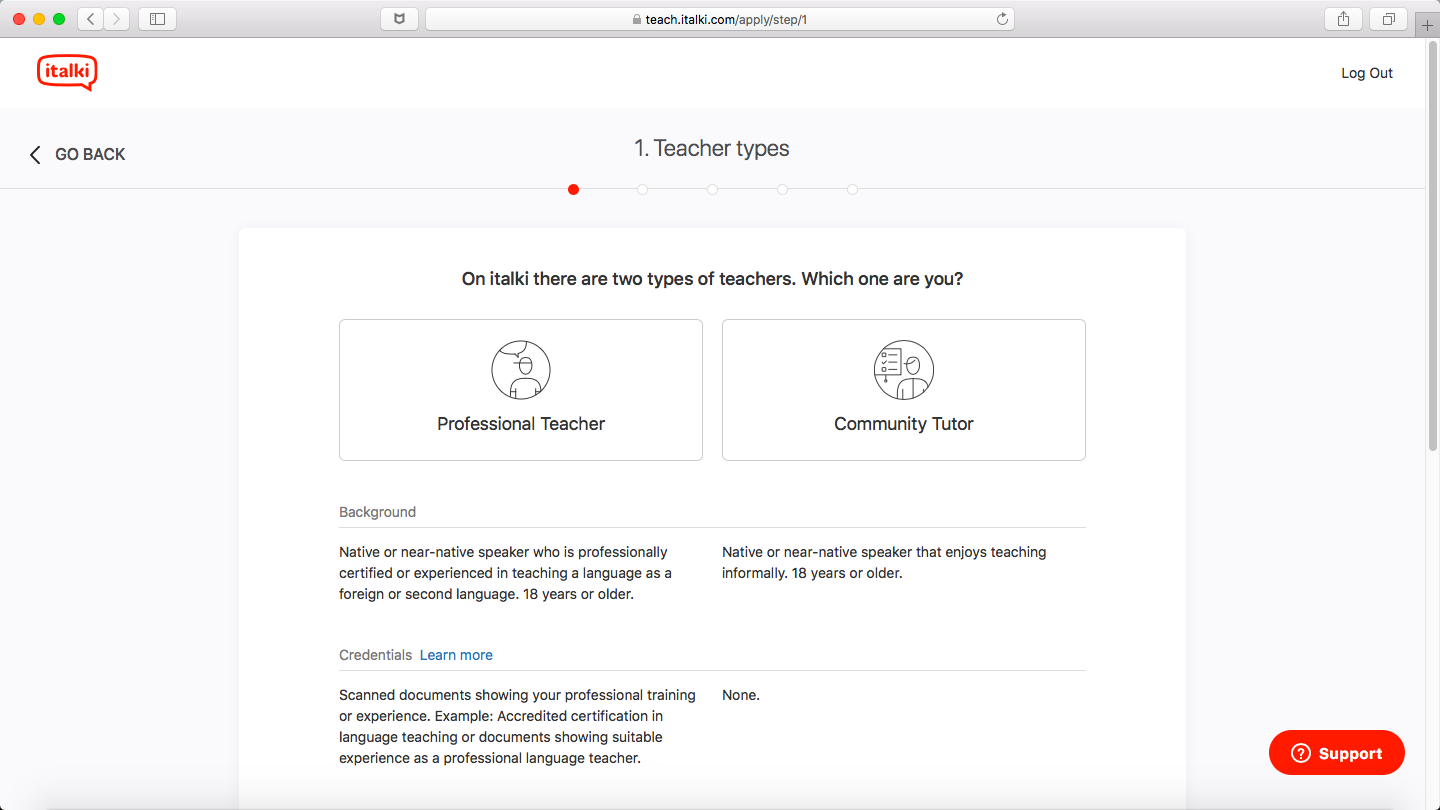
A Professional Teacher is a native or near-native speaker who is professionally certified or experienced in teaching a language as a foreign or second language. As part of your application process for Professional Teacher, you will need to scan and upload relevant documents showing your professional training or experience in teaching the language you want to teach on iTalki, so make sure to prepare all the documents and certificates in advance. As a Professional Teacher, you will be able to charge more per hour.
Getting your TESOL/TEFL certificate: To teach English on iTalki, you’ll need to have an accredited and recognized TESOL/TEFL certificate.
If you’ve completed the World TESOL Academy 120-hour TESOL/TEFL course you’ll be able to upload your soft copy digital certificate here.
If you haven’t enrolled in the course you can do so here:
.
If you don’t have any certificates or experience in teaching your language, you can become a Community Tutor. In order to become a Community Tutor, you need to be a native or near-native speaker who enjoys teaching! This teaching style is more informal and usually less structured.
Each applicant can only choose one teacher type – even if you want to teach multiple languages – so make sure to choose the one that is more convenient for you!
STEP 3: Fill out the application form
The following part of the process is to fill out the application form, which is divided into four parts.
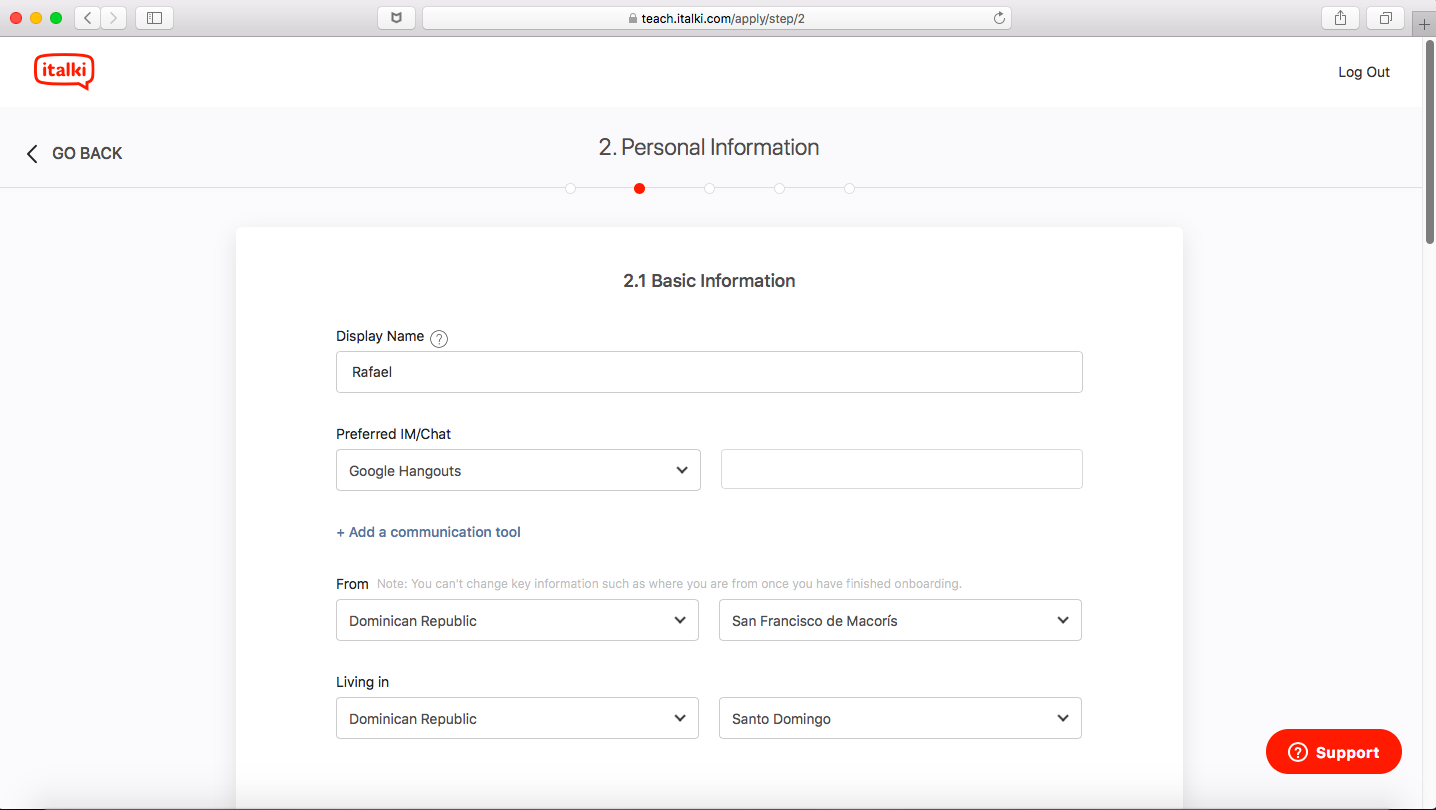
1. Basic Information: In this section, you will need to fill out your basic information, such as your name and where you’re from. Here, you’ll also need to choose your preferred communication tool (such as for example Skype, Zoom or Google Hangouts) and add your user ID.
2. Personal Information: This is key information that you won’t be able to change after your onboarding process, such as your name, gender and date of birth.
3. Language Skills: Here you will need to add all the languages that you speak and indicate your level, according to the Common European Framework of Reference for Languages.
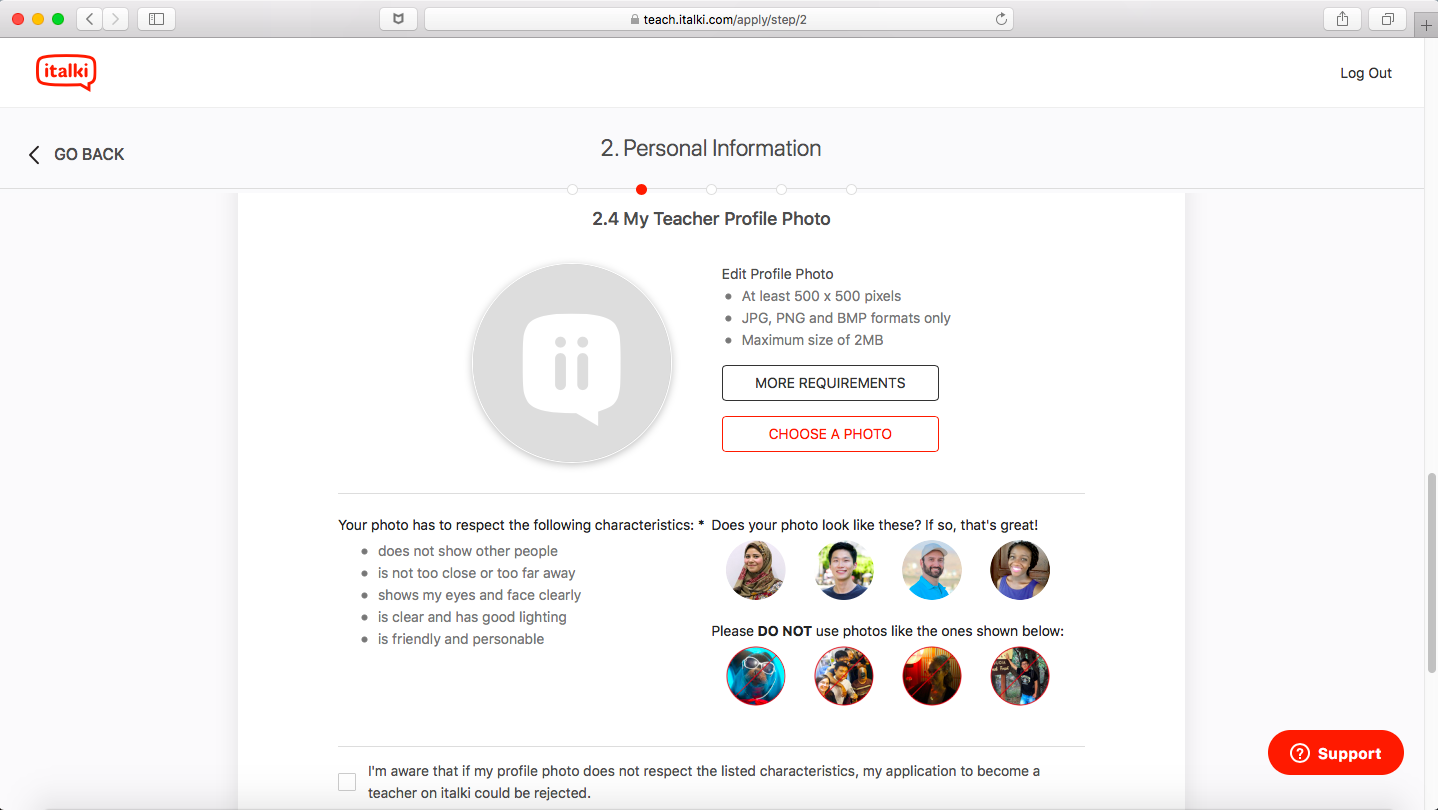
4. Profile Photo: iTalki is quite strict when it comes to the profile photos of their teachers, so make sure you follow all the requirements! Your profile photo should show your face clearly, be friendly and personable, with good lighting and no other people in the background. As far as the size, your photo needs to be at least 500×500 pixels and a maximum size of 2MB.
STEP 4: Set up your teacher profile
Now, the fun part begins! In this step of the application process, you will need to set up your teacher profile, including recording your introduction video and answering a couple of questions about your teaching style and methods. Take into account that if you pass the application process, all of the information that you include in this section will be showcased on your teacher profile to be seen by your potential students! Make sure to give your best in each step of this section!
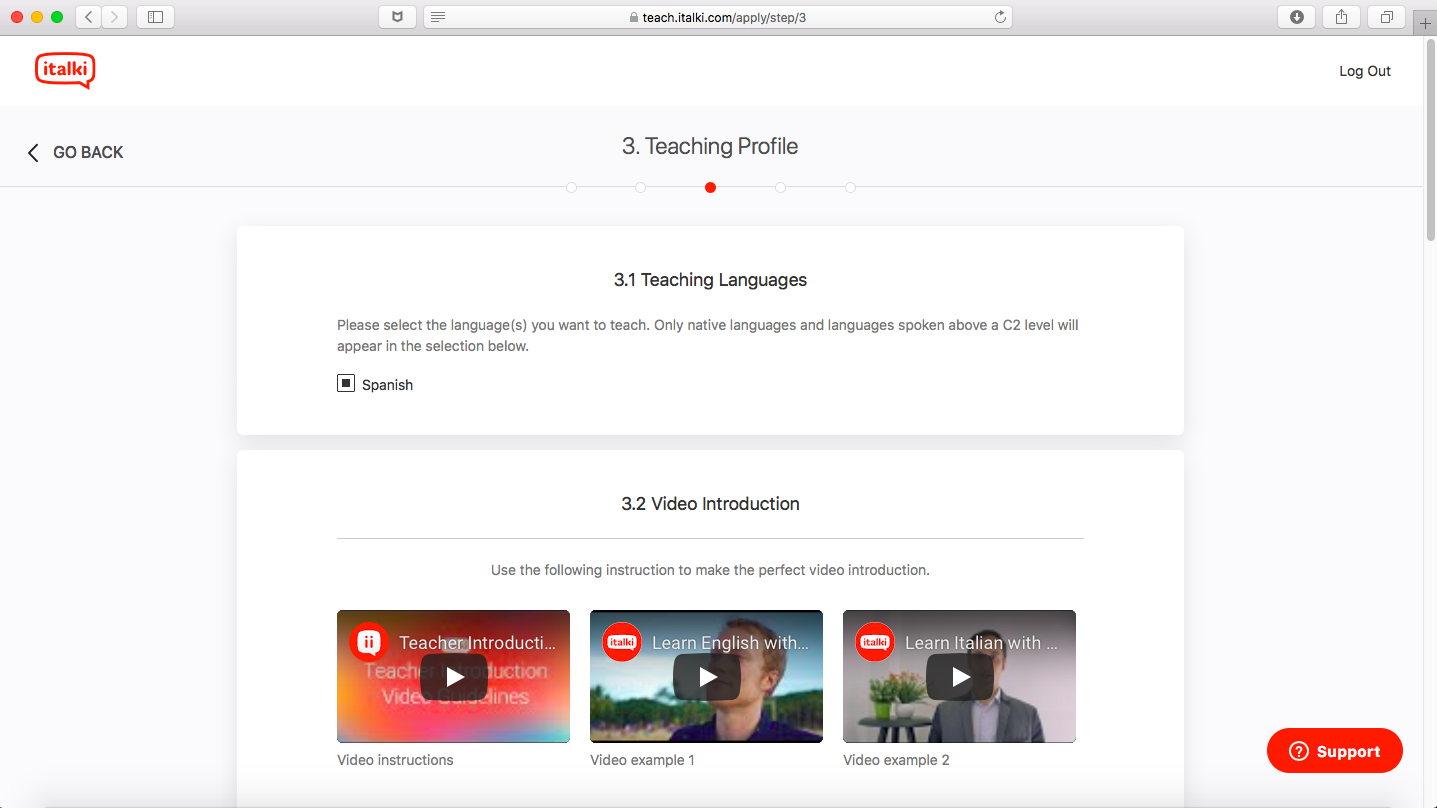
Choose Your Teaching Language(s): You can choose any languages that are on a native or C2 level as your teaching languages. This means that non-native speakers are able to teach English at iTalki, and you might also be able to teach your native language too!
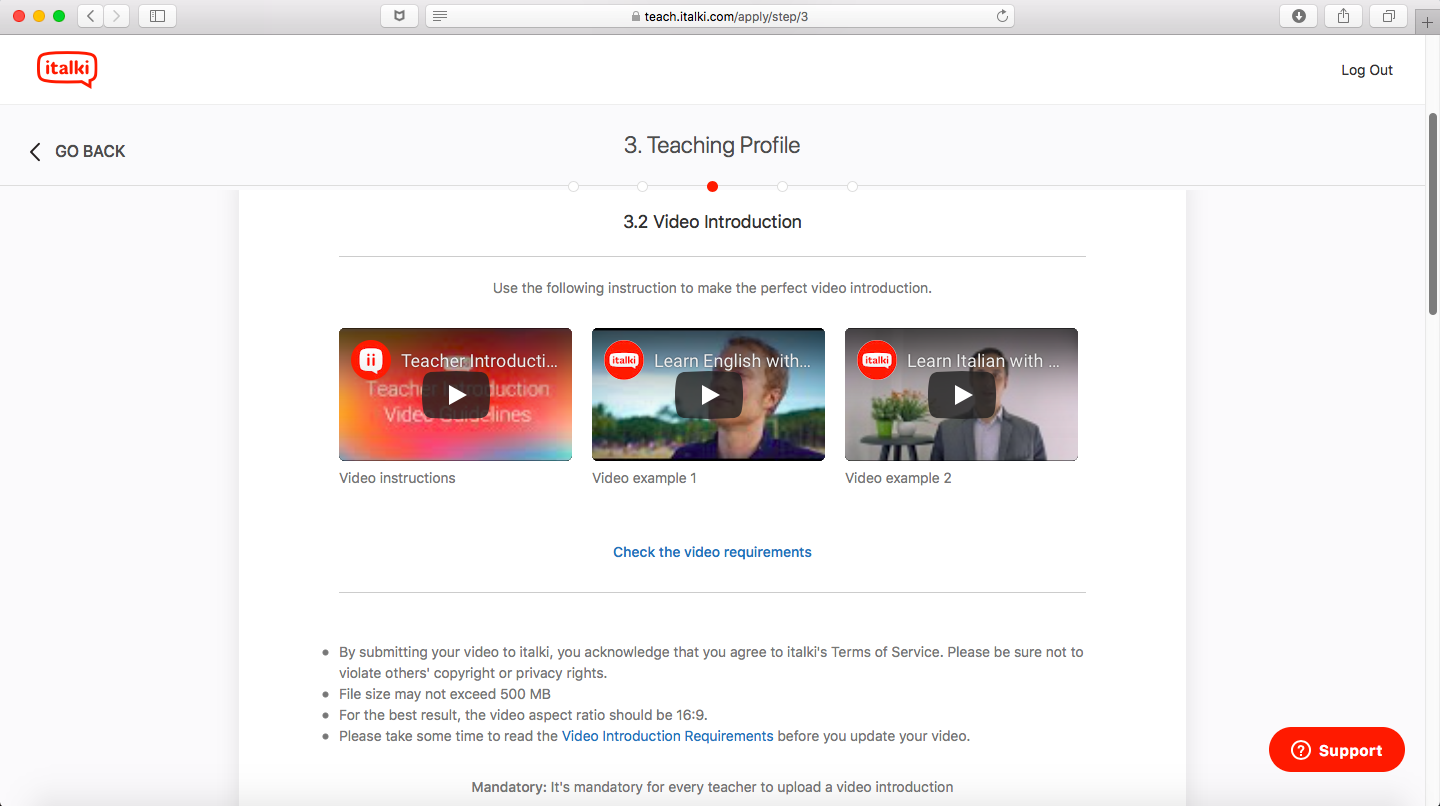
Record Your Introduction Video. This is by far the most important part of the application process! The introduction video you upload in this step will then be showcased on your profile. Most of your potential students will make a decision to book a class with you based on your video. Before you go ahead with your application, make sure to read the rules of how to create a great introduction video to showcase your teaching style and personality.
Here are a few tips to nail your introduction video:
Tell your potential students how you can help them! Introduce yourself briefly, but don’t overdo it. Focus on describing your teaching style and what are the benefits of taking classes with you.
Speak in all the languages that you know. Some students are looking for a teacher who can communicate with them in their native language and hearing you speak their language in the video will help them make the decision to book a lesson with you!
Make your video dynamic. Don’t be boring! You want to show your potential students that lessons with you will be fun and enjoyable.
Record your video in high quality and good lighting. This will show your potential students that you are serious and professional.
If you’re shy in front of a camera, imagine that you’re talking to your potential students rather than a camera pointed at you. Confidence is everything!
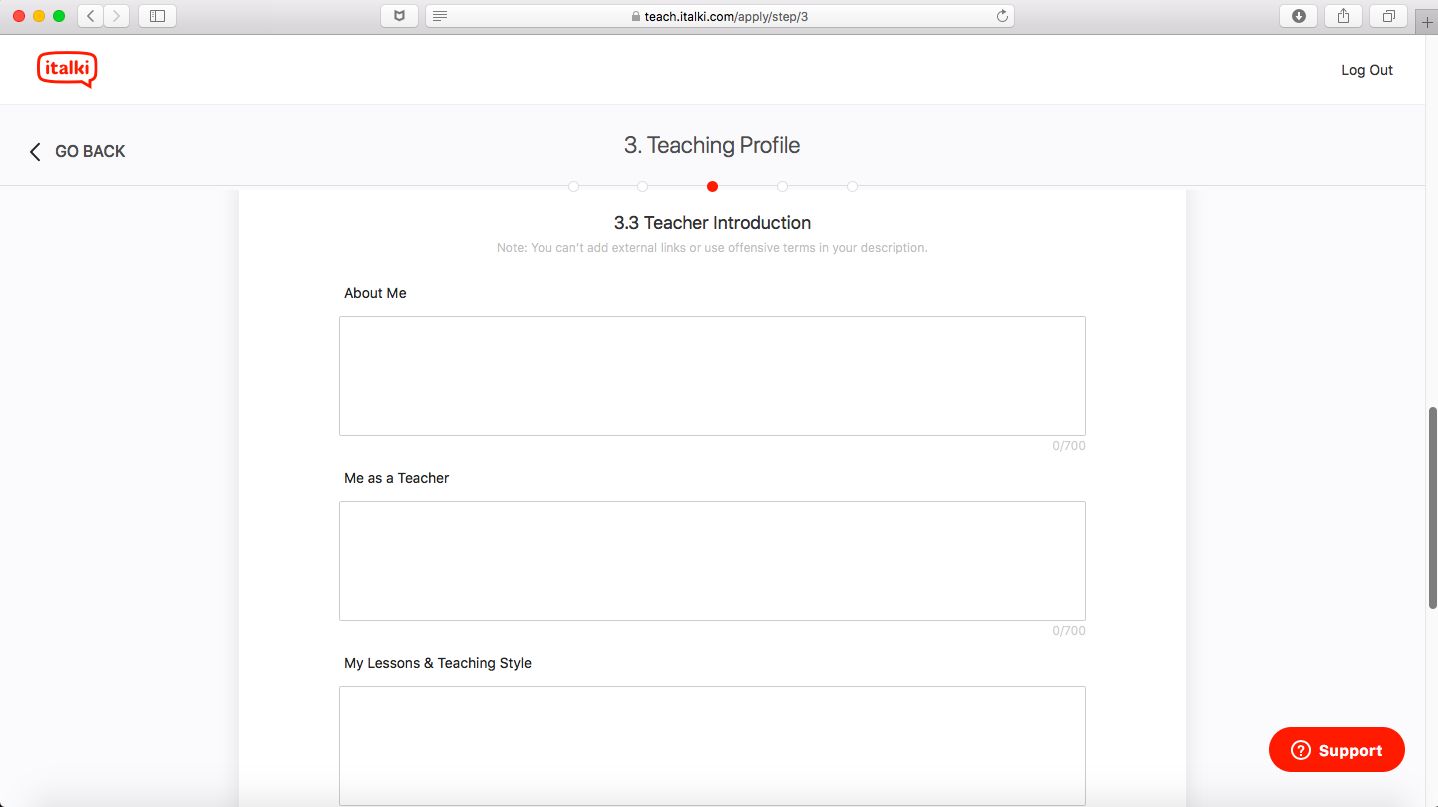
Teacher Introduction: In this step, you will need to introduce yourself and answer a few questions about your teaching style. This information will be displayed on your teaching profile once you are accepted by iTalki and showed to your potential students, so make sure to nail it!
Here are a few tips on how to write a great introduction:
Introduce yourself as a teacher, but also as a person! Why are you a teacher? What is your motivation? What do you love about teaching the most?
Talk to your potential students. What can you help them with? Why should they learn with you?
Show your potential students how you are different from the other teachers. What is your teaching style? What do you usually focus on?
After you fill out all the information on this page, iTalki will review your application and e-mail you within 10 business days with the decision as to whether or not your application has been accepted!
STEP 5: Application status
Congratulations! If you passed onto this step, it means that your iTalki application has been successful. In this step, you will need to do two things:
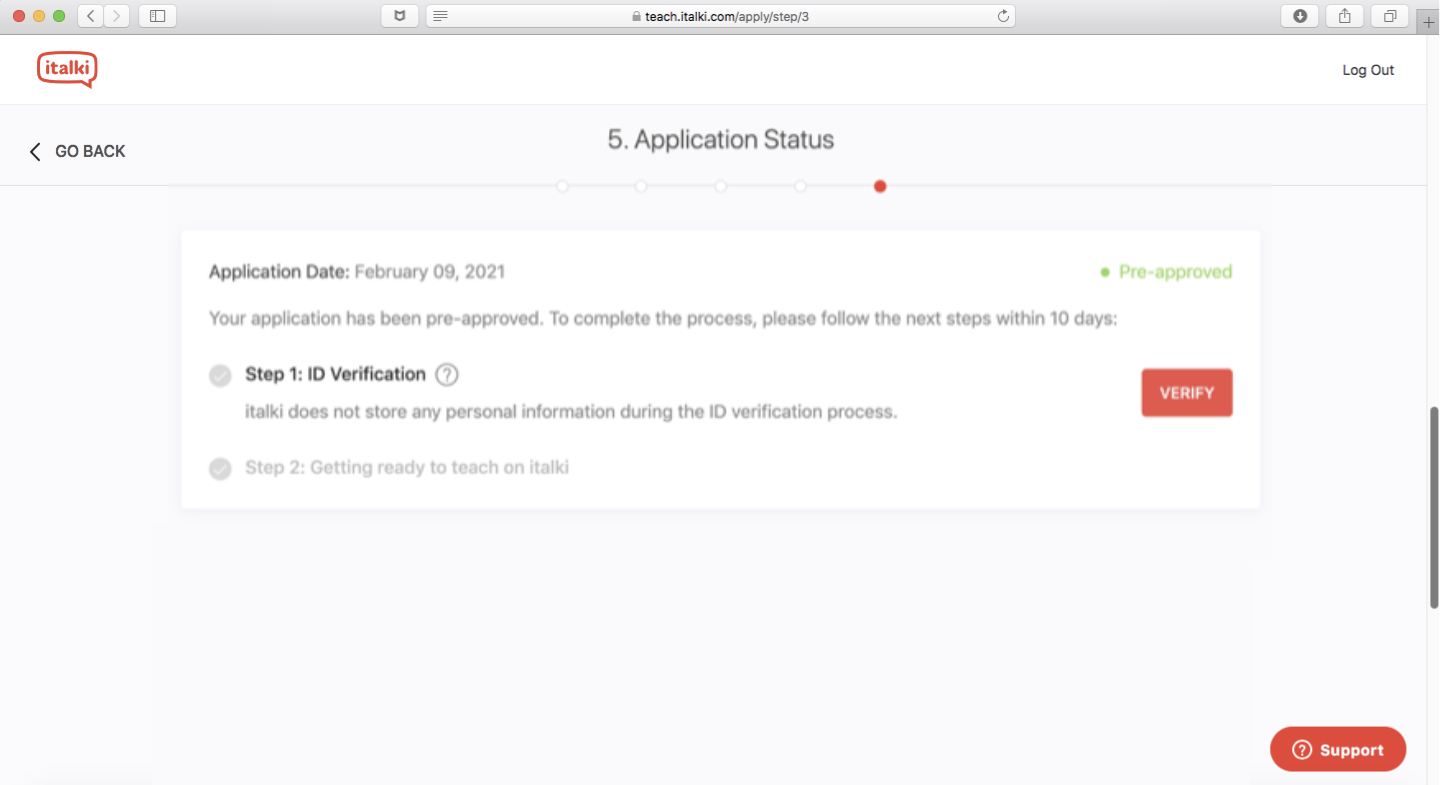
Verify your identity: Here, iTalki will ask you to upload a scanned photo of your identity document, such as your national ID, driving license or passport. You can read more about the verification process here: https://support.italki.com/hc/en-us/articles/900002930163-How-to-pass-ID-verification-.
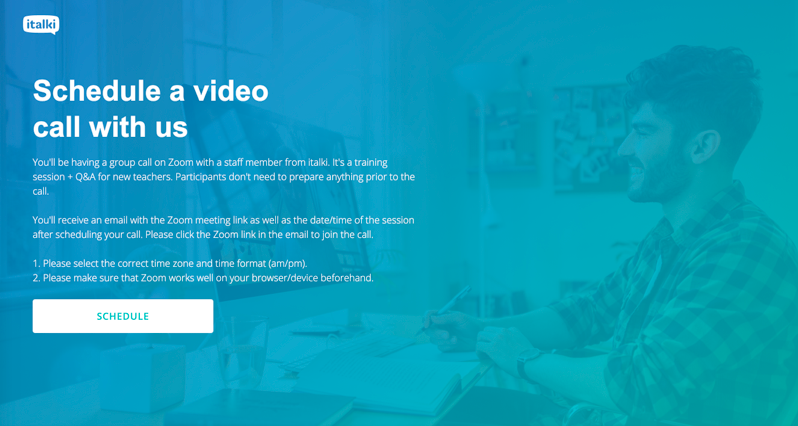
Book a Video Call with iTalki: After your ID has been verified, you will need to watch a few Teacher Success Videos and take a quiz. After you do that, you will be able to book a pre-approval, group video call with iTalki. The purpose of this call is to meet with your Teacher Success Manager, who will introduce you to iTalki, walk you through the do’s and don’t’s and answer any questions that you or the other new teachers might have. Attending this call is required to become an approved iTalki teacher.
STEP 6: Start teaching!
After your pre-approval call with iTalki, you will be notified by e-mail whether or not you are accepted as an iTalki teacher. If you do – congratulations! You can now get familiar with the iTalki teaching platform and set up your lesson types as well as open your calendar to potential students and fill it with new lessons!


Leave A Comment